こんにちは.
サーバ用にSSDを購入したHaruです.
サーバにSSDを導入するに当たって,RAIDコントローラの設定を変更する必要がありました.
が,これに関連するツールを全く入れていないことに気づいたので導入しました.
HPEソフトウェアをProxmoxのホストに導入したが,日本語の文献があまりなかったのでメモ.
この記事の作成にあたり,以下のページを参考にした.
HP Agentless Management Service (AMS) on GEN 8 Deb… – Hewlett Packard Enterprise Community
目的
- hpsmhをインストールする
- hpsmhからRAIDコントローラの設定変更を実現させる
やったこと
- リポジトリの追加
- パッケージのインストール
- 起動スクリプトの編集
導入環境
ハードウェア
HPE ProLiant DL380p Gen8
CPU: Intel(R) Xeon(R) CPU E5-2609 0 @ 2.40GHz x2
MEM: 4096MB x8
ソフトウェア
OS
Proxmox VE 7.4-3
$ cat /etc/os-release
PRETTY_NAME="Debian GNU/Linux 11 (bullseye)"
NAME="Debian GNU/Linux"
VERSION_ID="11"
VERSION="11 (bullseye)"
VERSION_CODENAME=bullseye
ID=debian
HOME_URL="https://www.debian.org/"
SUPPORT_URL="https://www.debian.org/support"
BUG_REPORT_URL="https://bugs.debian.org/"
導入する
以下のリポジトリにDebian向けのレポジトリが公開されている.
ProxmoxはDebianベースなので,これを使用する.
https://downloads.linux.hpe.com/SDR/repo/mcp/
Debian 11向けのソフトウェアでも,Gen8では対応していないパッケージが存在していた.
多少古いものでも互換性は一応ありそうなので,bullseyeとbionic向けのレポジトリを追加する.
# vim /etc/apt/sources.list.d/hpe.listdeb https://downloads.linux.hpe.com/SDR/repo/mcp/Debian/ bullseye/current non-free
deb https://downloads.linux.hpe.com/SDR/repo/mcp/Debian/ bionic/10.80 non-freeパッケージリストを更新
$ sudo apt updatehpe向けパッケージが存在しているかを確認.
以下のような出力が得られればOK.
# grep '^Package' /var/lib/apt/lists/downloads.linux.hpe.com_*_Packages | perl -wanl -F'\s' -e 'print $F[1]' | sort -u
amsd
hp-ams
hp-health
hponcfg
hpsmh
hp-smh-templates
hp-snmp-agents
ssa
ssacli
ssaducli
storcli
導入したパッケージ
- hp-ams/bionic
- hponcfg/bullseye
- hpsmh/bionic
- ssa/bionic
- ssacli/bionic
- ssaducli/bionic
これ以外のパッケージは依存関係の解決に失敗しインストールできない,サービス起動が失敗するなどの問題が発生するが,自分の使用用途に影響しないため,インストールしていない.
今回は以下のコマンドでインストールした.
$ sudo apt install hp-ams hpsmh hponcfg=5.6.0-0 ssa=3.30-13.0 ssacli=3.30-13.0 ssaducli=3.30-13.0起動スクリプトの改変
hpssadの起動スクリプトがBullseyeでは正常に動作しなかったため,44行目周辺を修正する.
# vim /etc/init.d/hpessad修正前
start_daemon "/usr/sbin/ssa"修正後
#start_daemon "/usr/sbin/ssa"
/usr/sbin/ssa -start
Readonlyファイルなので,:w!で強制的に書き込む.
ファイルを改変したのでこれも実行しておく
# systemctl daemon-reload最終的な設定ファイルは次のとおり.
#!/bin/bash
#
# hpessad        This starts and stops ssa.
#
# chkconfig: - 99 99
# description: hpessad
#              ssa allows configuration of HPE RAID storage
#
# processname: /usr/sbin/ssa

### BEGIN INIT INFO
# Provides:              hpessad
# Required-Start:        $remote_fs $syslog
# Required-Stop:         $remote_fs $syslog
# Default-Start:                2
# Default-Stop:
# Short-Description:     HPE Smart Array Configuration Tool
### END INIT INFO

PATH=/sbin:/bin:/usr/bin:/usr/sbin

# Source function library.
. /lib/lsb/init-functions

RETVAL=0
prog="hpessad"

start(){
    [ -f /usr/sbin/ssa ] || exit 5
    # this is suitable way considering SELinux is guarding write
    # access to PID file
        [ $EUID -eq 0 ] || exit 4

   # make sure SMH is running
   [ -f /etc/init.d/hpsmhd ] || exit 3
   /etc/init.d/hpsmhd status > /dev/null 2>&1
   if [ "$?" -ne "0" ]
   then
      /etc/init.d/hpsmhd start
   fi

    echo -n $"Starting $prog: "

    #start_daemon "/usr/sbin/ssa"
    /usr/sbin/ssa -start
    RETVAL=$?
    echo
    return $RETVAL
}

stop(){
    [ -f /usr/sbin/ssa ] || exit 5
    # this is suitable way considering SELinux is guarding write
    # access to PID file
        [ $EUID -eq 0 ] || exit 4

    echo -n $"Stopping $prog: "
    /usr/sbin/ssa -stop
    RETVAL=$?
    echo
    return $RETVAL
}

restart(){
    stop
    start
}

# See how we were called.
case "$1" in
    start)
        start
        RETVAL=$?
        ;;
    stop)
        stop
        RETVAL=$?
        ;;
    status)
        status_of_proc $prog
        RETVAL=$?
        ;;
    restart)
        restart
        RETVAL=$?
        ;;
    *)
        echo $"Usage: $0 {start|stop|restart}"
        RETVAL=2
esac

exit $RETVAL
サービスの起動
# systemctl enable --now hpessad hp-ams hpsmhd初期設定では
https://[SERVER’S IP ADDR]:2381/
でアクセスできる.
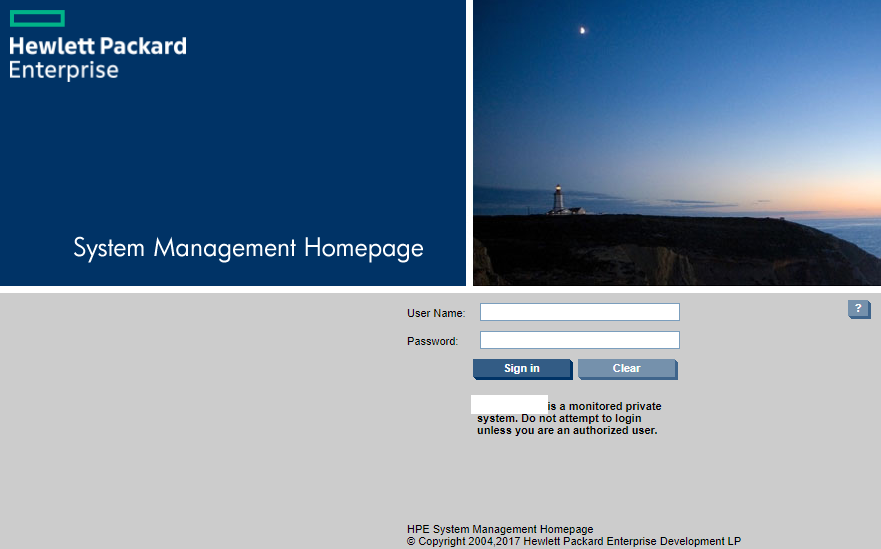
Linuxユーザでログインし, 画面下部のSmart Storage Administratorをクリックすると,新しいウィンドウでSmart Storage Administratorの設定画面が開く.
ポップアップブロックが作用して開かない場合は許可する.
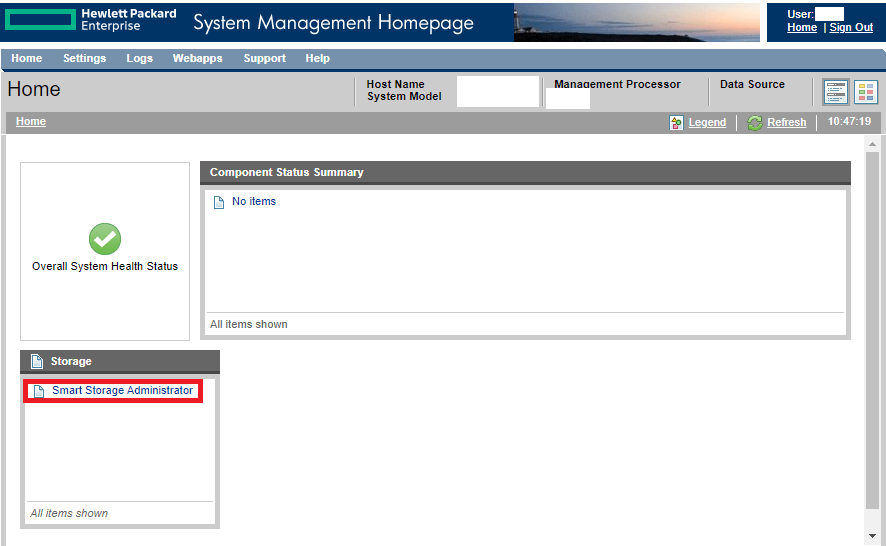
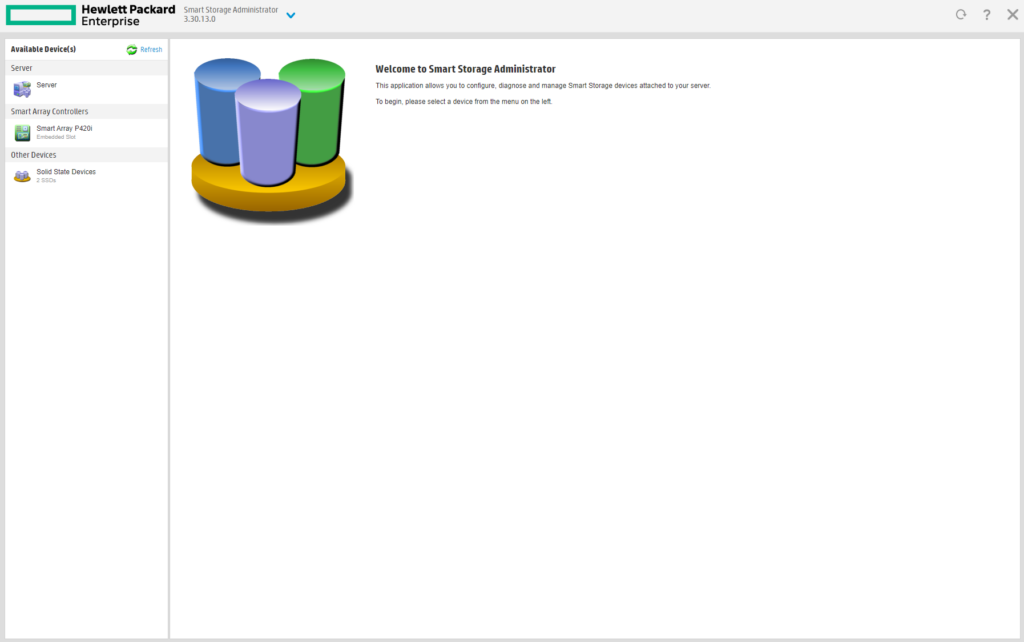
使用方法はGUI起動時と同じなので割愛する.
終了する場合はSSA内の☓ボタンで終了する.
これを実施セずウィンドウを閉じると,同一セッションではSSAに入れなくなるので注意.
